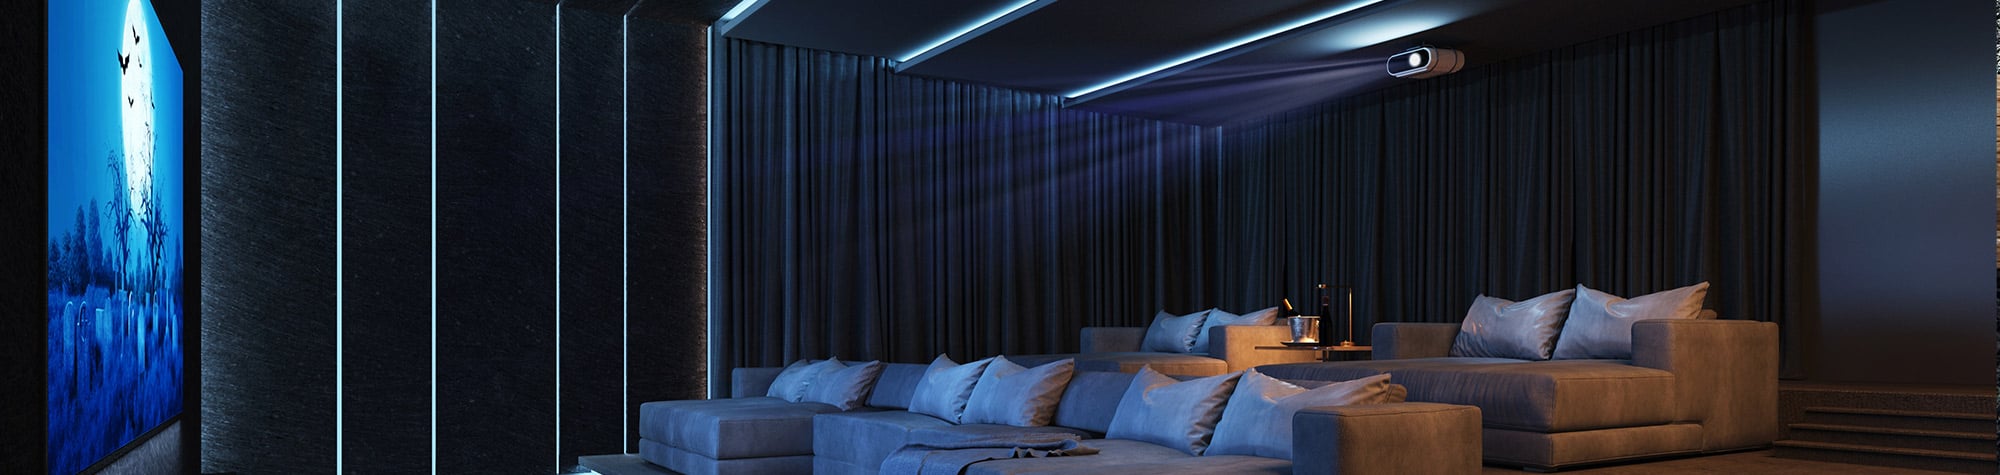
With so many great movies and TV shows available on streaming services, it’s no wonder that more people are creating home theater seating areas where they can have the best possible experience as they enjoy all of this content. It’s easier than ever to get the surround-sound audio, high-definition picture, and comfortable home theater couches and reclining loveseats you expect from a top-tier movie theater. By following a few basic steps and putting in a little bit of time and effort, you can create an amazing home entertainment space of your very own.
1. Selecting Your Space for Your Home Theater Seating, Loveseat, or Recliner Setup
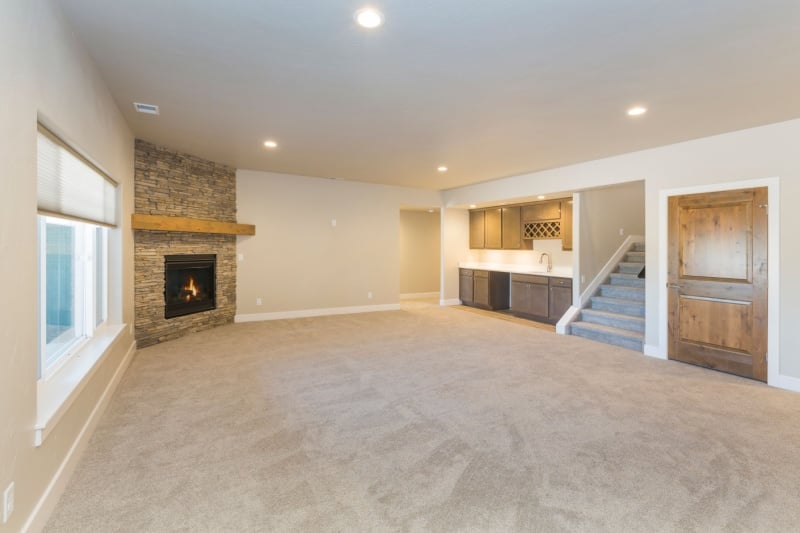
The first step in designing a home theater is choosing the appropriate room. Ideally, the space should be at least 20 feet long by 12 feet wide, providing ample room for luxury seating of your choice, like a reclining theater loveseat and equipment. You should also pick a room that’s as isolated as possible from the other rooms of the house, which will help to minimize the amount of soundproofing you’ll need to keep sounds from moving between your theater and other rooms. Basement rooms are ideal for a home theater space.
2. Constructing the Shell Before Adding Your Theater-Style Seating
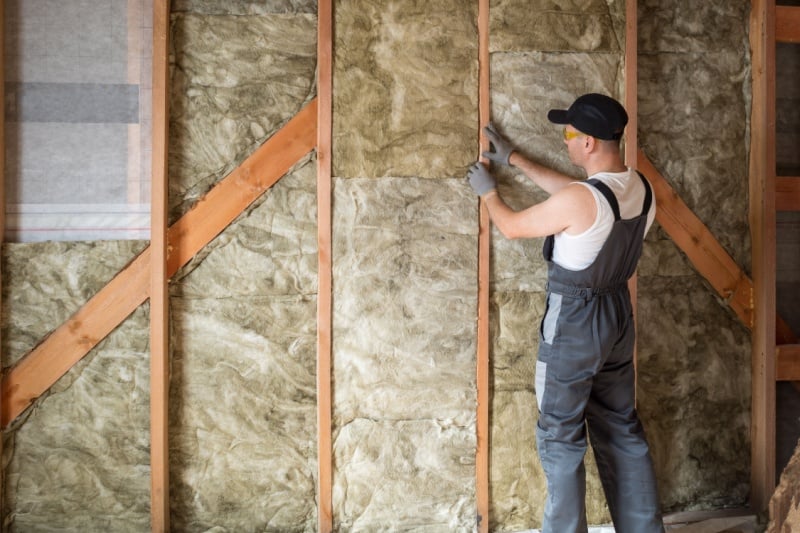
If your room isn’t configured the way you want it or insulated properly, now is the time to fix that. Frame any walls you want to add, make sure that all of the walls have good-quality insulation, and think about whether you want to add raised floor sections for tiered theater-style seating.
3. Adding Surround Sound to Your Media Room
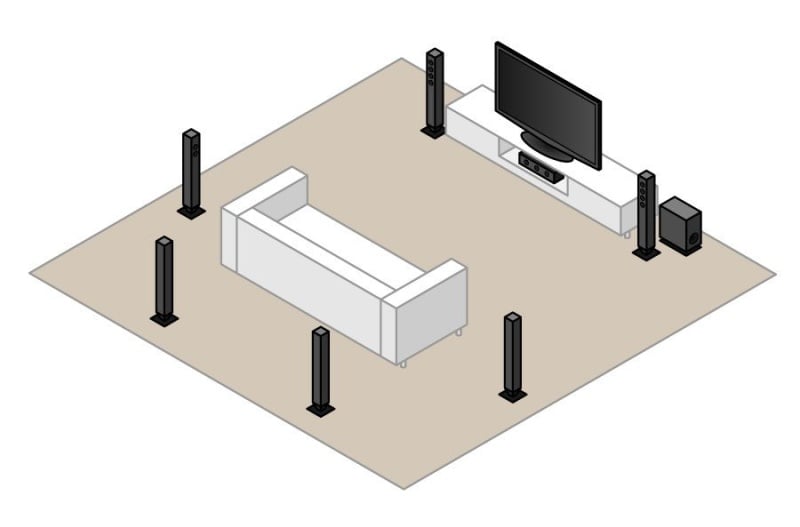
A critical component of a home theater is the sound system. A typical setup includes seven surround-sound speakers and a subwoofer. Together, these speakers provide a rich and immersive audio experience. If you need to install any wiring for your speakers, now is the time to do it. For a seven-speaker system, you’ll need one center speaker above or below the screen, left and right speakers to either side of the screen at about ear height, a surround speaker on either side wall behind the theater seats, and two speakers on the back wall. The subwoofer can be positioned anywhere that’s convenient. This configuration ensures that viewers experience the full range of audio, from deep lows to crisp highs. Where you place your media room sectional also impacts the sound quality.
4. Installing Lighting
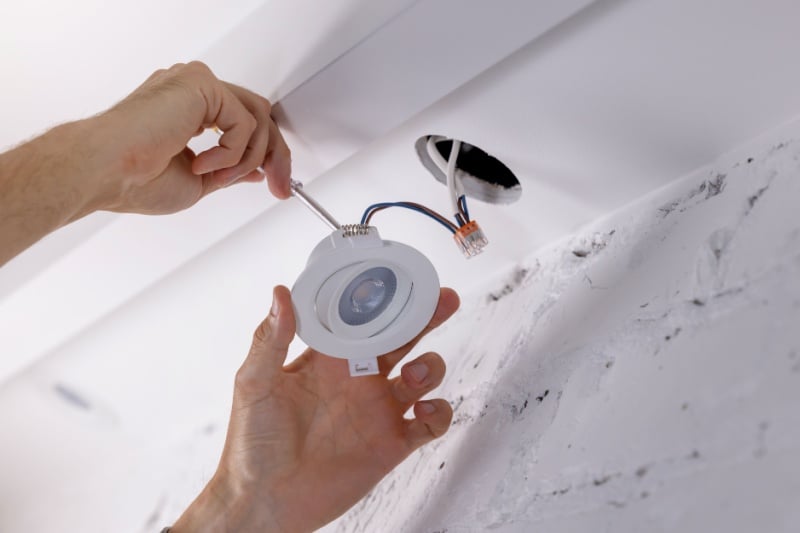
Take your cues from commercial theaters when choosing your lighting. The best lighting plan usually combines recessed lights in the ceiling with wall sconces along the sides of your space. If you prefer, you could also opt to use track lighting. No matter how you decide to design your lighting, you’ll need to make sure that you run all of the electrical wiring needed at this stage. You can make any minor adjustments once you’ve situated your home theater seating so that nobody is being blinded or getting a glare.
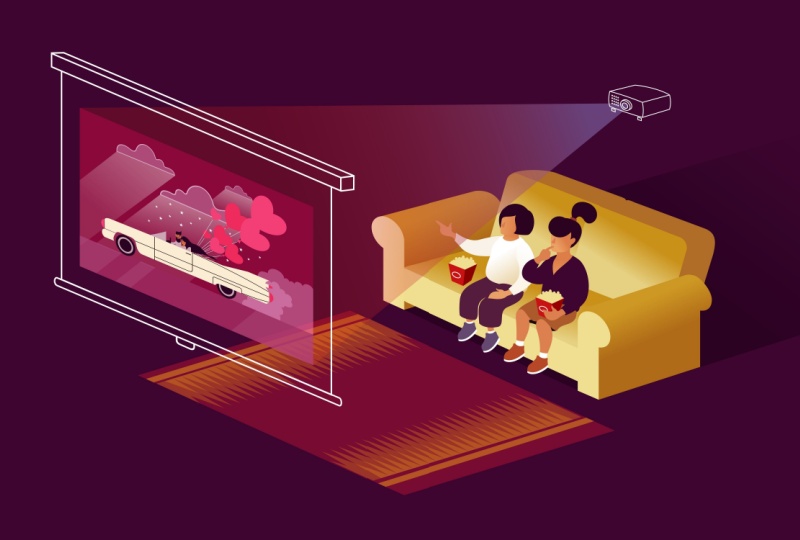
5. Adding Wiring for the Video Projector
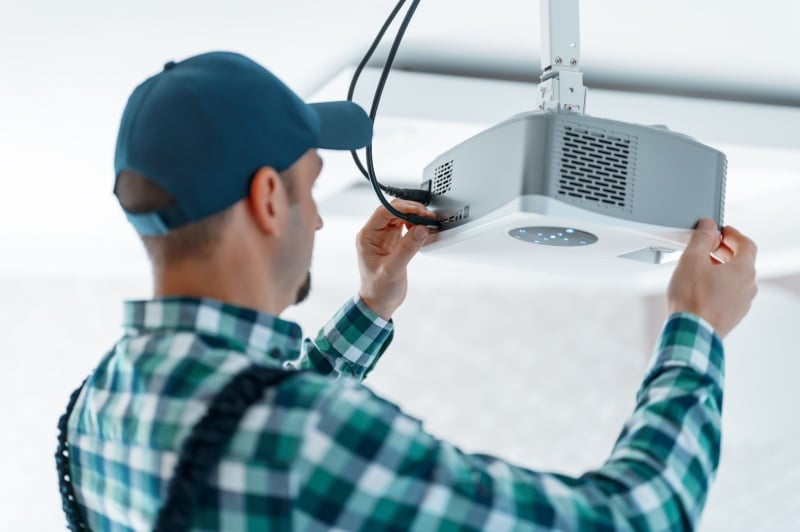
A true theater experience requires a video projector, which is fairly simple to install. Mount your projector to the ceiling and run an HDMI cable between your projector and the device that will be sending video to it (typically a computer, gaming console, or Blu-ray player). Choose a projector with the best video quality to maximize your viewing experience.
6. Planning Your Soundproofing
Adding soundproofing to your home theater helps to keep out noise from other rooms and keep the sounds of your home theater from being heard in the rest of the house. Depending on your specific space, you may need:
- Flooring Underlayment: Soundproofing the floor is especially important if there are rooms below your theater. Use specialized flooring materials to prevent sound from traveling through the floor.
- Ceiling Soundproofing: If there are living spaces above your theater, add soundproofing to the ceiling.
- Wall Soundproofing: To enhance the acoustics of your home theater and keep sounds from leaking out, add soundproofing insulation or buy acoustic wall panels to add to the finished walls.
- Door Soundproofing: Use door seals to help maintain sound isolation.

7. Installing Drywall
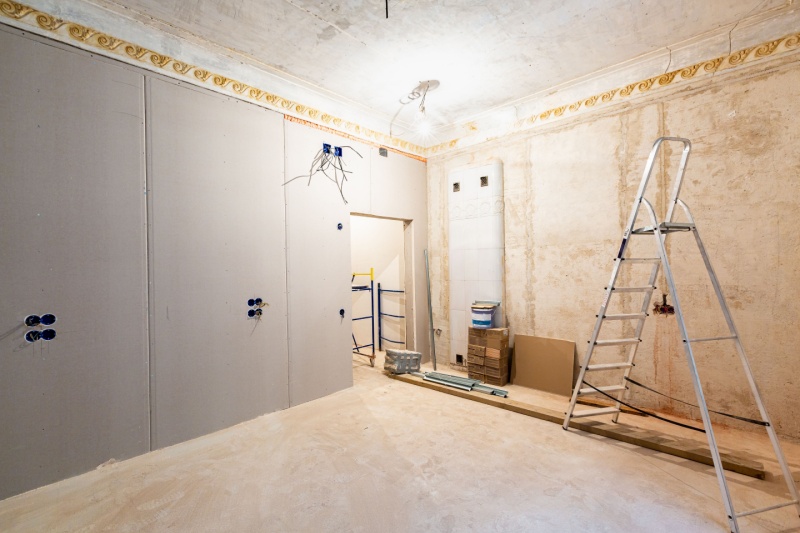
Once you have all of your wiring in place, you can finish the space with drywall, making sure to leave cutouts for outlets and exit spaces for your audio and video cables.
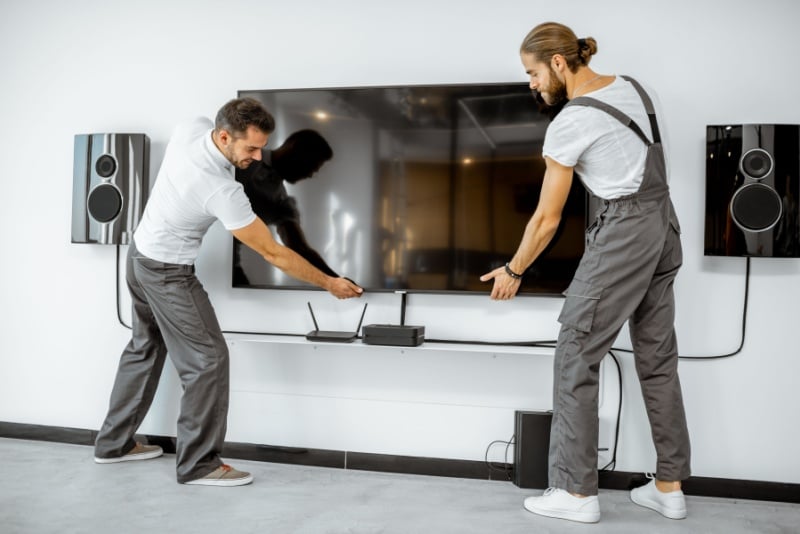
8. Setting Up Video and Audio
With the structural work complete, you can install your screen, projector, and speakers. After setup, calibrate the projector to deliver the best possible picture quality and test the sound system to make sure that it’s working properly.
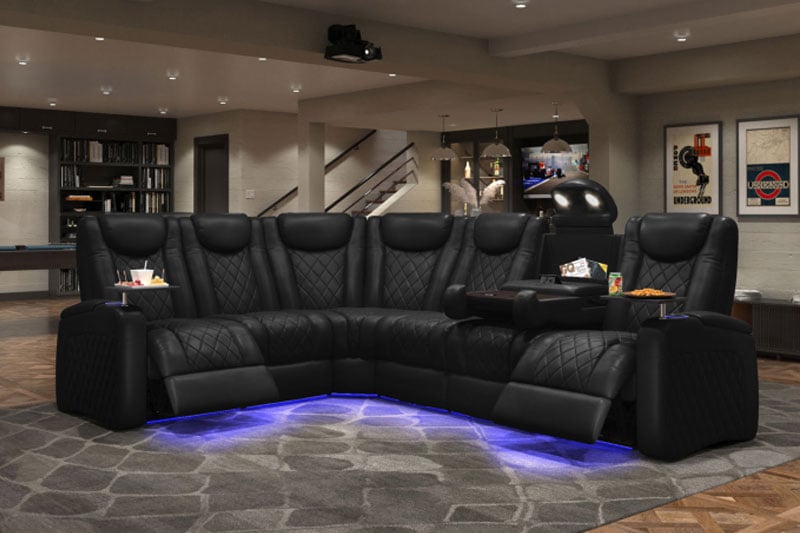
9. Adding Seating
Comfortable home theater seating is essential for an enjoyable experience. High-quality theater seats come in a range of configurations to fit any space, from individual leather cinema recliners to movie theater couches and sectionals, and they can come with lots of great features, like cup-holders, tray tables, and even relaxing heat and massage functions. Pick out the style, material, and features you want, then add one row, two rows, or however many seats make sense for your space.
Additional Resources
- Six Ways to Soundproof a Space
- Three Essential Ingredients for Home Theater Design
- How to Build a Home Theater
- Top-Quality Home Theater Seats
- DIY Home Theater Build
- The Ultimate Guide to Home Theater Design
- How to Set Up Home Theater Equipment
- Nine Tips to Set Up a Video Projector
- Creating Your Home Theater
- Leather Home Theater Seating
- Building the Perfect Home Movie Theater Room
- Layouts and Configurations for Home Theater Seats